
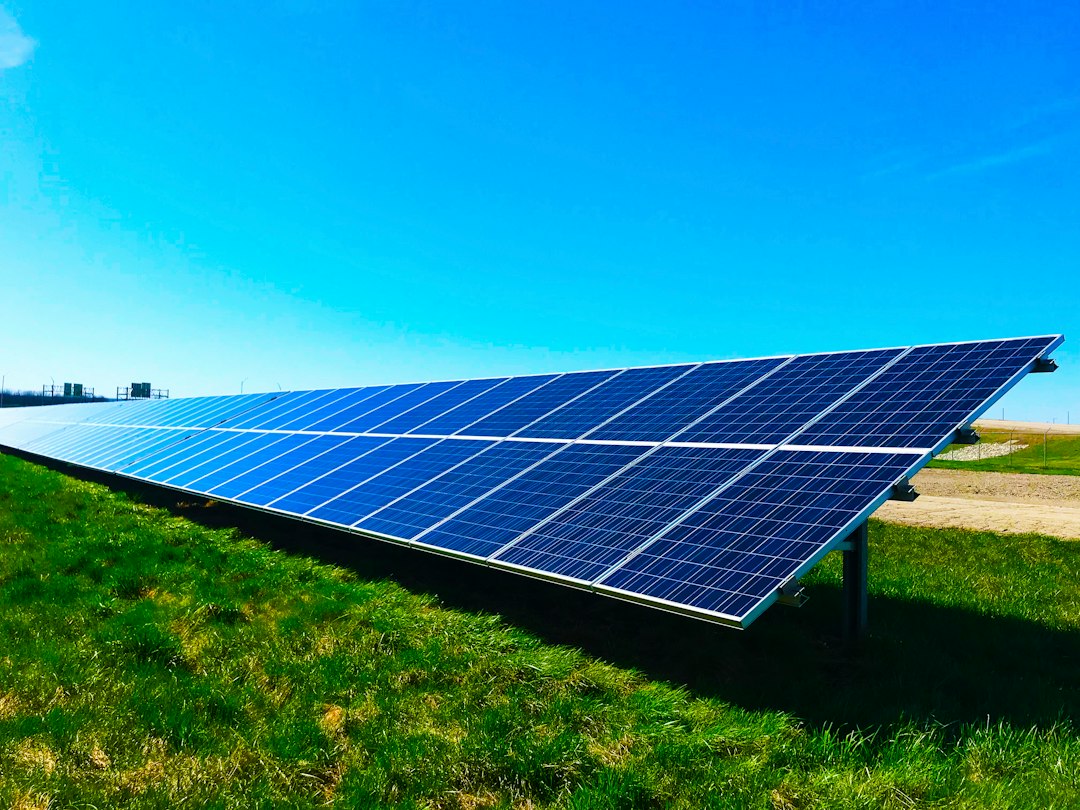
A campervan solar system can help you stay independent of mains hook-up, but there is a catch: the wattage printed on a panel is not a promise of how much electricity it will deliver every day. Real output depends on daylight, cloud, shadows, the angle of the panel and how your system is configured.
Start with energy use rather than roof space
A useful solar plan begins by recording the energy that your fridge, lights, water pump and charging devices consume over a day. Energy is measured in watt-hours (Wh). A 10 W appliance running for five hours uses 50 Wh; devices that cycle on and off need a sensible estimate of actual running time.
A 200 W solar panel is rated for peak conditions, not for a constant 200 W throughout the day.
What does a panel’s rating mean?
Manufacturers rate solar panels under standardised test conditions. A panel will frequently generate less than its advertised wattage in normal camping conditions, especially with partial shade, winter sun or high panel temperature. Two roof panels with the same nominal rating can also perform differently in practice.
| Typical situation | What changes | What to do |
|---|---|---|
| Sunny summer day | Strong available sunlight | Use this as an opportunity to recharge |
| Cloudy day | Reduced generation | Allow extra reserve |
| Short winter day | Limited solar hours and lower sun angle | Don’t rely on solar as the only source |
| Parked under trees | Even partial shade can reduce output | Check panel location or use portable panels |
Fixed roof panels or portable folding panels?
- Roof-mounted: work while the van is parked, require little daily setup and don’t take up living space. Roof vents, racks and pop-top accessories can create shade.
- Portable folding: can be repositioned away from shade and aimed towards the sun, but require storage, a compatible electrical connection and safe positioning.
- Rigid or flexible: compare mounting methods, durability, cooling and manufacturer-approved installation details rather than just weight.
Why the solar controller matters
An MPPT controller manages charging between the solar array and the leisure battery. It must be matched to the panel’s voltage/current limits and the battery’s charging profile. The controller doesn’t create energy; it helps use the available panel output effectively.
A solar system also needs correctly specified cables, connectors, electrical protection, weather sealing and suitable mounting. Permanent installation should be designed or checked by a competent person.
How much solar is enough?
There is no universal answer because UK midwinter conditions and southern European summer conditions are completely different. As a planning example, a van needing 400 Wh per day must replace at least that amount plus system losses if it is to remain energy-neutral. Whether a particular panel can do that on any given day depends on the weather and setup.
Think about your other charging options. Mains charging and a properly designed alternator/DC-DC arrangement can make the difference between a practical system and one that only works on the sunniest days.
Installation checklist
- Measure clear roof space and note likely shade sources.
- Check panel weight and approved mounting method.
- Confirm array voltage and current stay within controller limits.
- Match charging settings to the battery manufacturer’s requirements.
- Plan weatherproof cable entry and cable protection.
- Decide how you’ll recharge when solar output is poor.
The practical takeaway
Estimate energy demand first, then check whether the solar you can realistically fit will contribute meaningfully during the months you travel. Avoid any seller promising guaranteed daily watt-hours without discussing season, orientation or shade.
Editorial status: Educational buying guide. The performance examples are illustrative and are not measured output from a named solar kit.